Please enable JavaScript to view this site.
Say you have a spooled file full of purchase orders, each purchase order consisting of an amount of fixed text (Date, Customer Number, Delivery address, Standard terms etc) followed by a variable number of items making up the order. The fixed text is easily copied across to the output document using the spooled file tool after all, it’s always going to be in the same position.
The list of items is more difficult. You probably won’t know how many items there will be, and maybe not even how many lines each item will take up. This is where looping comes in. Set up a Conditional element to be true each time there is a change of item (Item number for example), place it in a loop that covers the area that may have items in it (all the way to the end of the page if necessary) then place within it the conditional elements and spooled file elements to copy the required text relatively.
There is a Loop Tool Tutorial video which may help you better understand the concept of Looping.
To do this you first select the Loop icon  or press 4. Then select, using your mouse, all the lines from the Input pane that you wish to include in this loop. When you release your mouse button you will see that the selected lines will appear in yellow. You will also see, if you click on the Explorer Window that the Loop element has been added. Add a description for the loop using the General tab in the Properties box.
Loop Properties
See General Properties for details on the General tab.
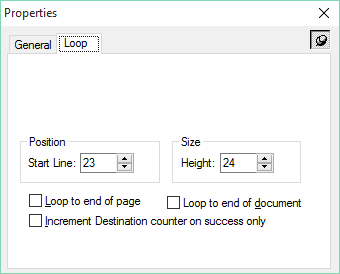
The Loop tab allows you to specify the Position & Size or the Loop (these will already have been completed using your previous selection) as well as options to select to override the number of lines in a Loop by using either Loop to end of page or Loop to end of document. The Loop to end of page is useful if the number of lines vary on each page; this to loop to the end of the spooled file page regardless of the number of lines. The Loop to end of document options allows you to process every page from the same Start Line until the last page in the document; this is often useful when you wish to output XML or perhaps label output instructions.
The Increment destination counter on success only option is to allow you to edit out unwelcome lines from your loop. If the condition within the loop is not met then it will not print a line on the output document. For example, you may have a blank line between items on your original Purchase Order but wish to leave them out of your final document.
Positioning your Elements in the Loop
Now you need to decide which data you want selected within the loop and what, if any, conditions you wish to apply to the data. As the same function is going to be applied to every line of the spooled file in the loop you only need to add your conditions based upon the first line in your Loop.
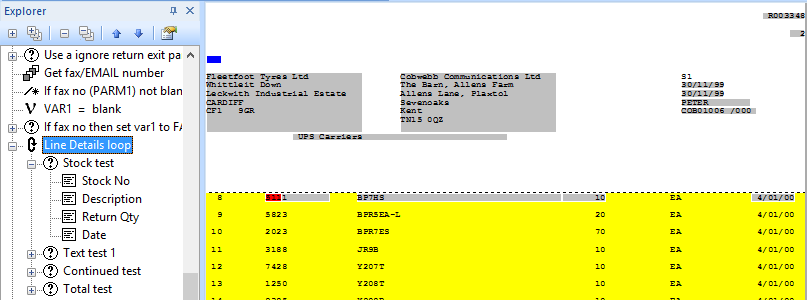
In the above screenshot you can see that the Stock test condition (in red) is being performed on the first line of the Loop, on the Input pane, and then the Spooled File output of Stock No, Description, Return Qty and Date are all also being selected from the first line. You may select data from the row below to be output but you will need to remember that this will be selected relative to the current line i.e if you have selected from the second line in the loop, when it reads the next line this will be selected from the third line, and so on.
You should also position the start of the Loop on the Output pane (the top of the yellow) where you wish to start outputting the data (see screenshot below) and then position the information that you wish to be output on the same line (unless you wish the information to appear on the line below for every line in the loop).

Additional Element Properties when in a Loop
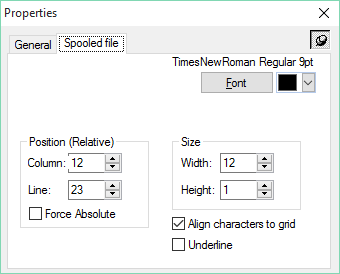
When you look at the Properties on your output pane for any output contained within the loop, such as a Conditional or Spooled file data, you will see an additional option - Force Absolute. Normally the input and output position would be dependent upon the line number increment of the loop.
Force Absolute for your Output pane - will allow you to position the output from a Loop in a specific fixed position on your Output pane - unrelated to the line of the loop being processed. |
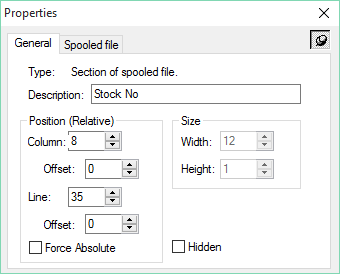
Force Absolute for your Input pane is on the General tab and allows you to select from a fixed position on the Input pane - unrelated to the line of the loop being processed. |
|
|
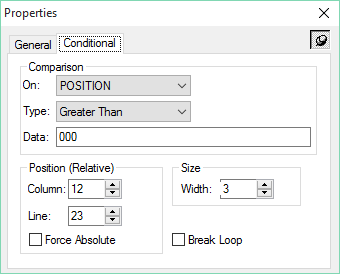
For a Conditional element within a Loop there is the extra Property of Break Loop, this will allow you to jump to the end of the loop ignoring any further data when a certain Condition is met e.g. Totals.
Note: You must take care to include all possibilities that might occur within the loop. For instance you may have both credits and debits. You may have to check if there is a Brought Forward balance on page two that might cause a problem etc.
